Create VM from Devstack Horizon GUI
Enter the value for User Name as admin and enter the value for Password as labstack.
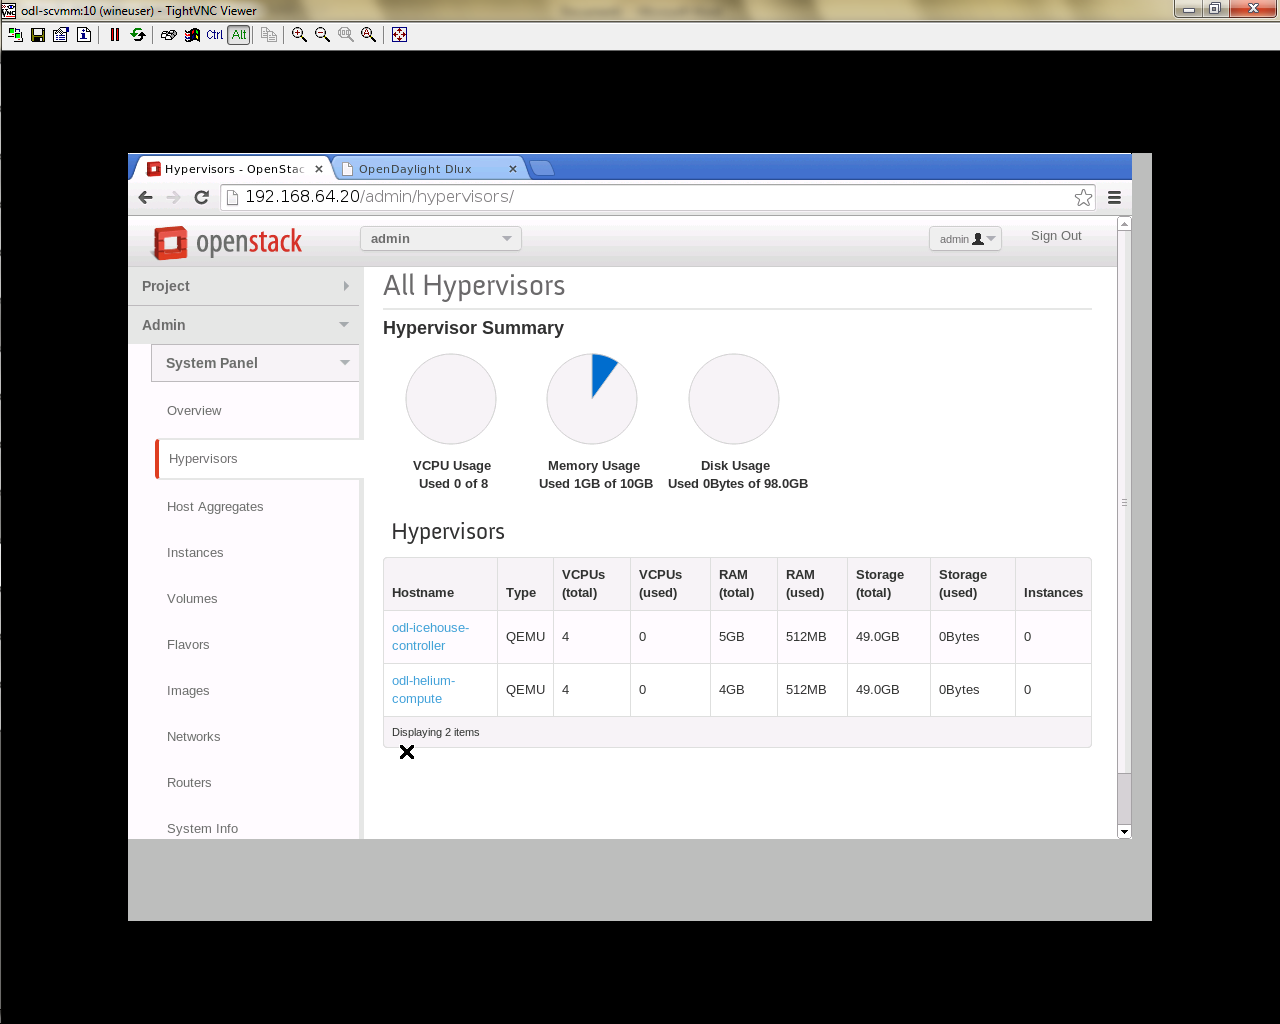
* We should first ensure both the hypervisors(control node and compute node) are mapped under hypervisors by clicking on Hpervisors tab.
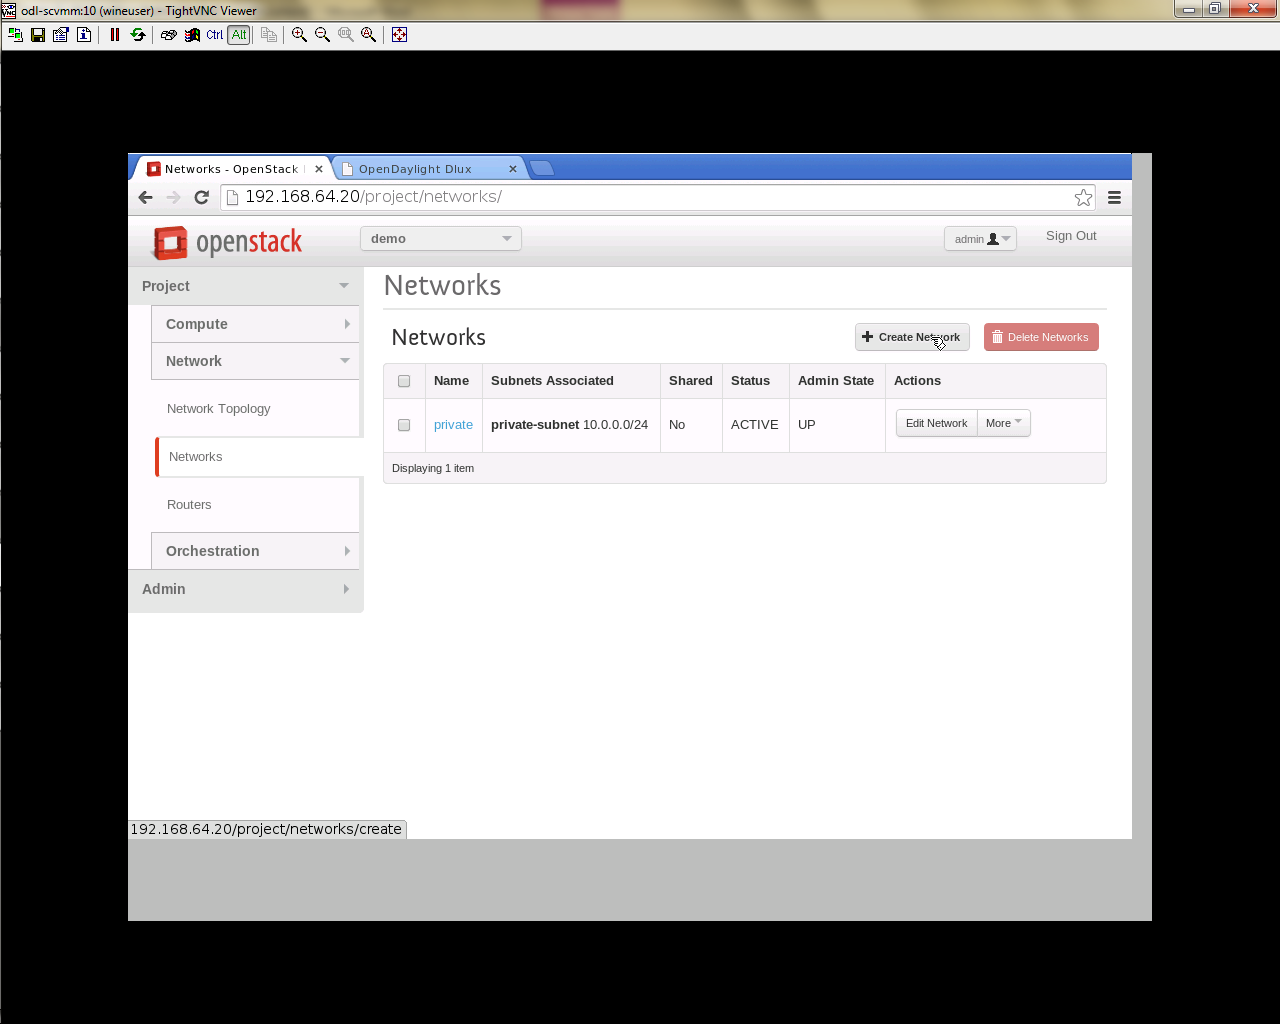
- Create a new Network from Horizon GUI.
- Click on Networks Tab.
- click on the Create Network button.
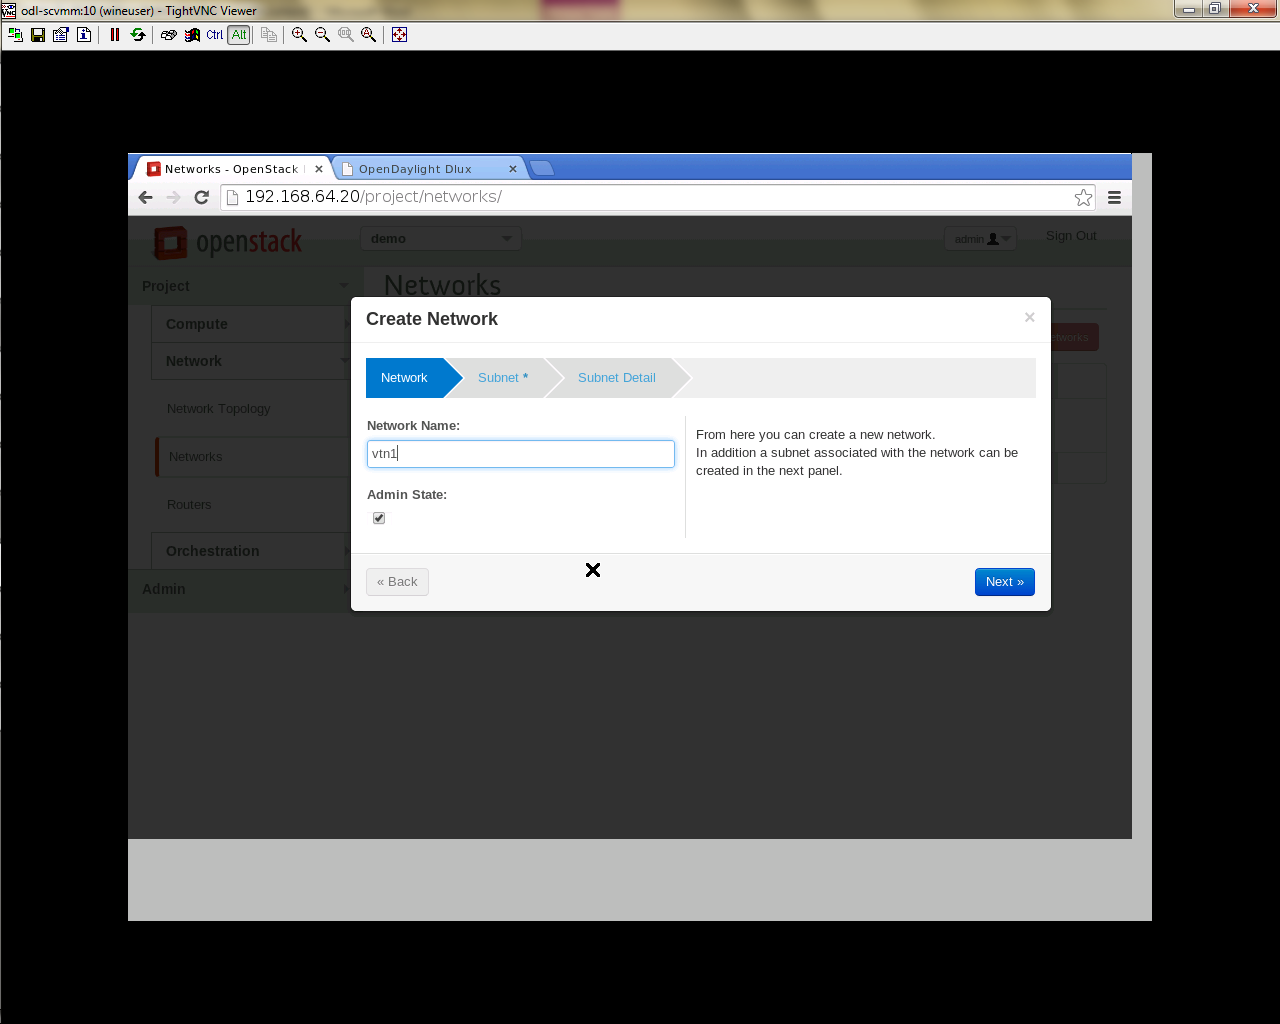
- A popup screen will appear.
- Enter network name and click Next button.
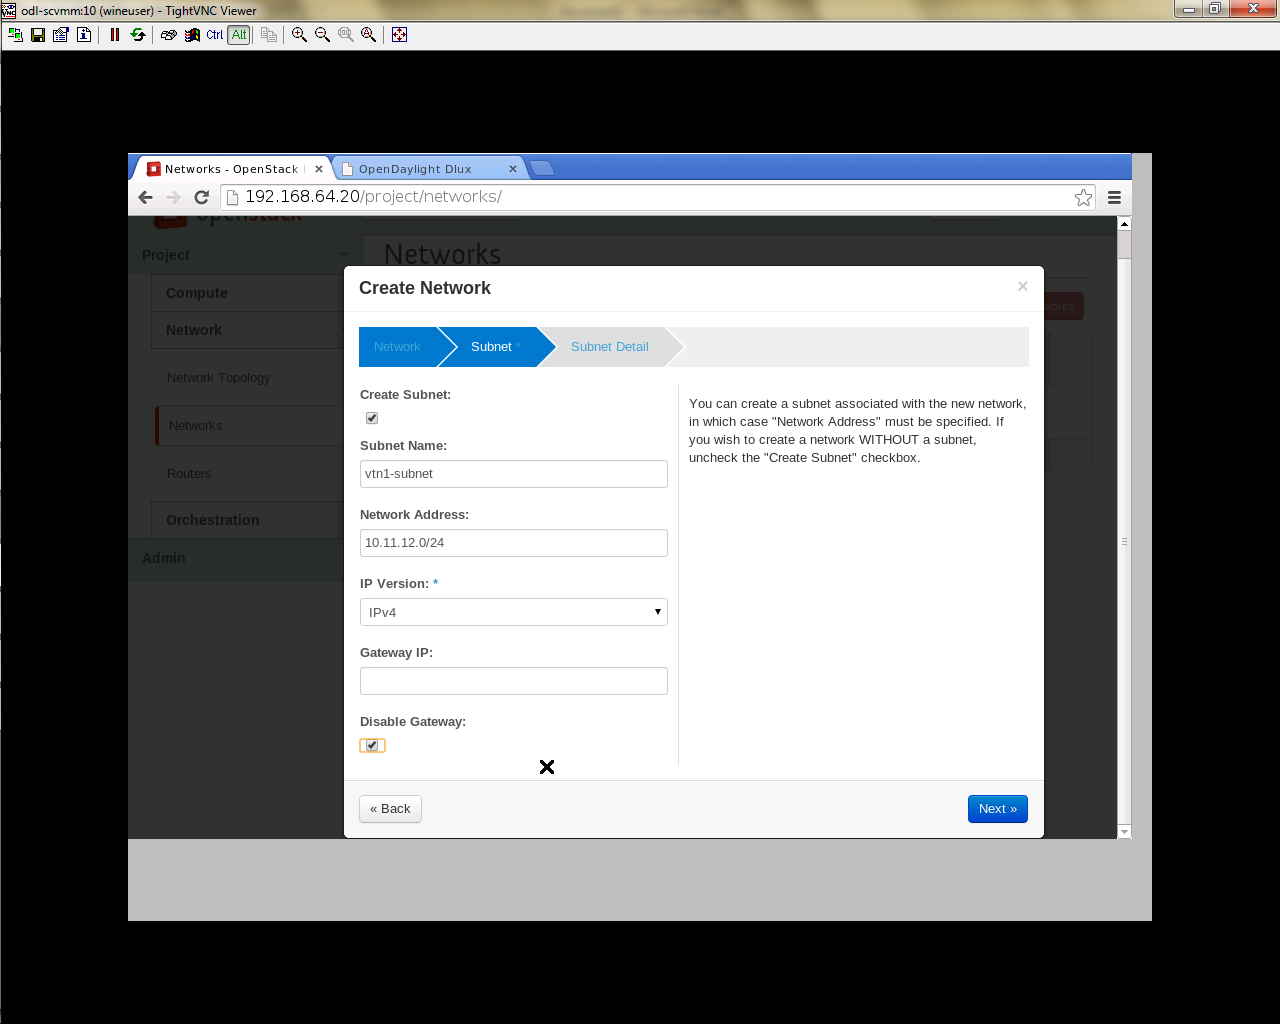
- Create a sub network by giving Network Address and click Next button .
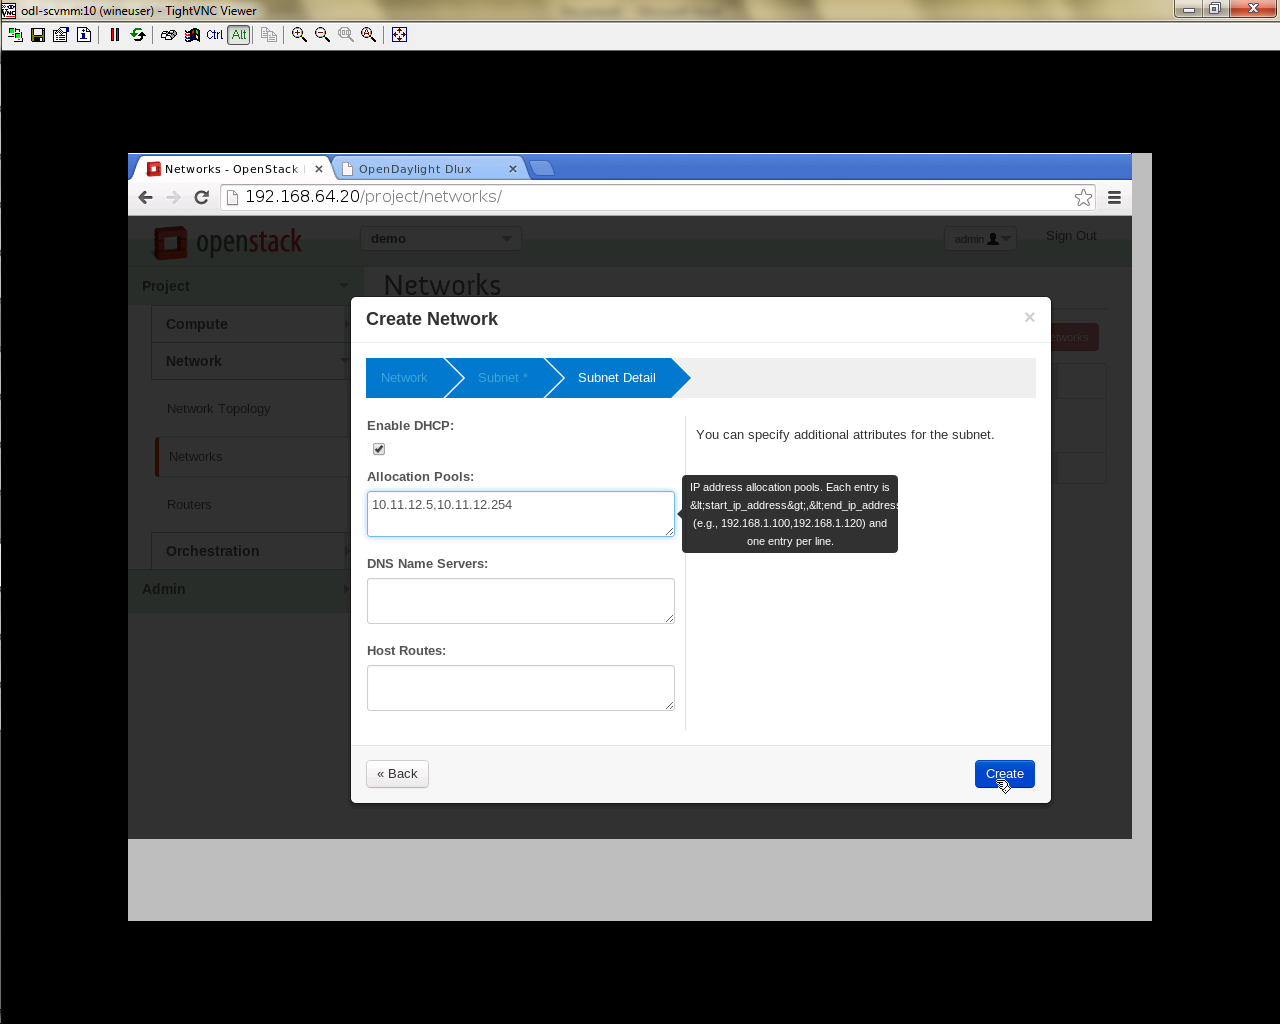
- Specify the additional details for subnetwork (please refer the image for your reference).
- Click Create button
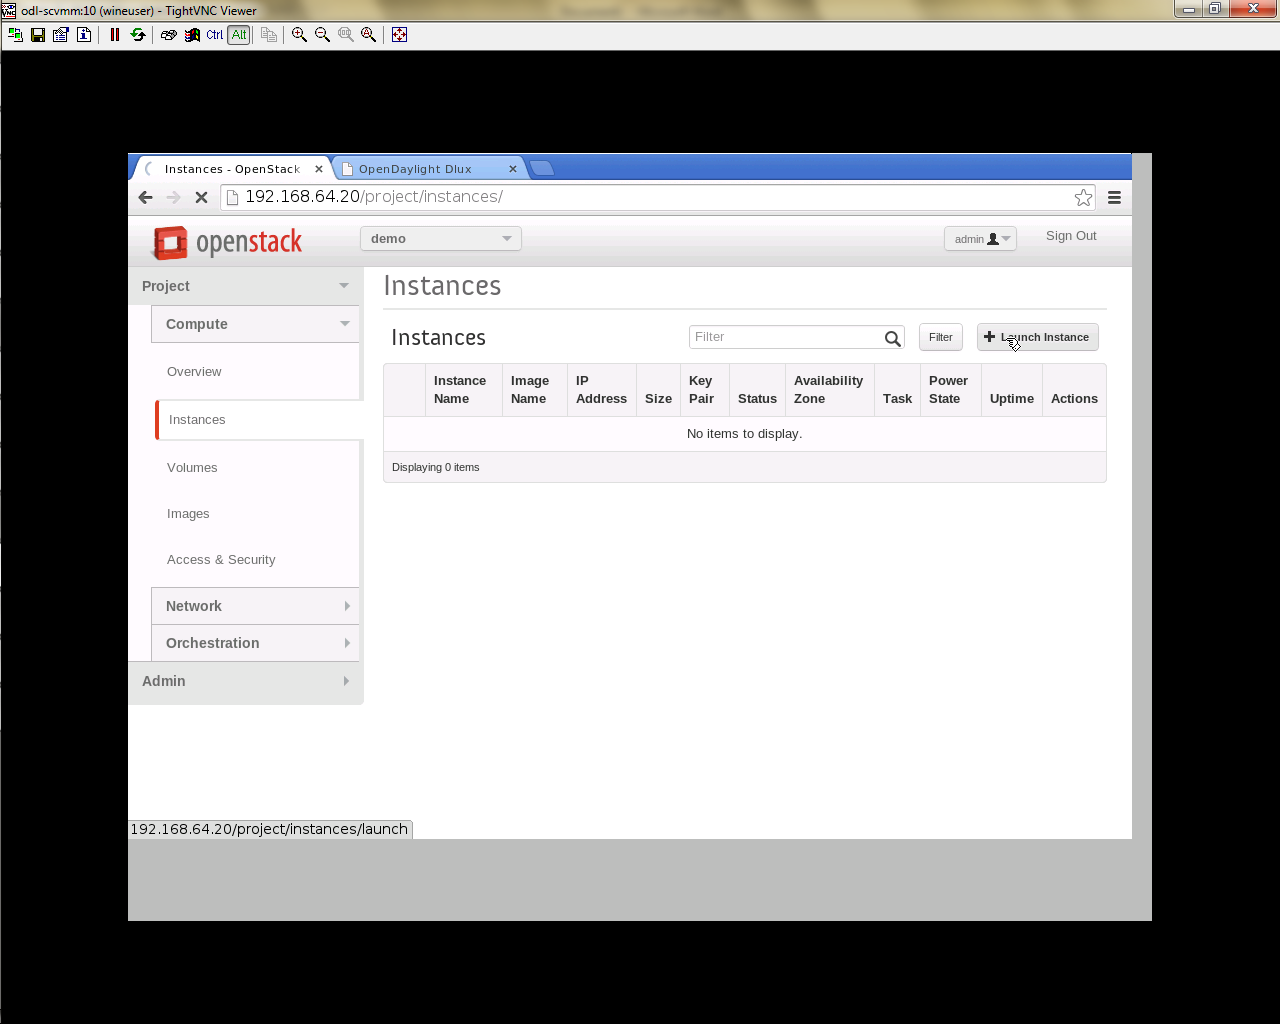
- Create VM Instance
- Navigate to Instances tab in the GUI.
- Click on Lauch Instances button.
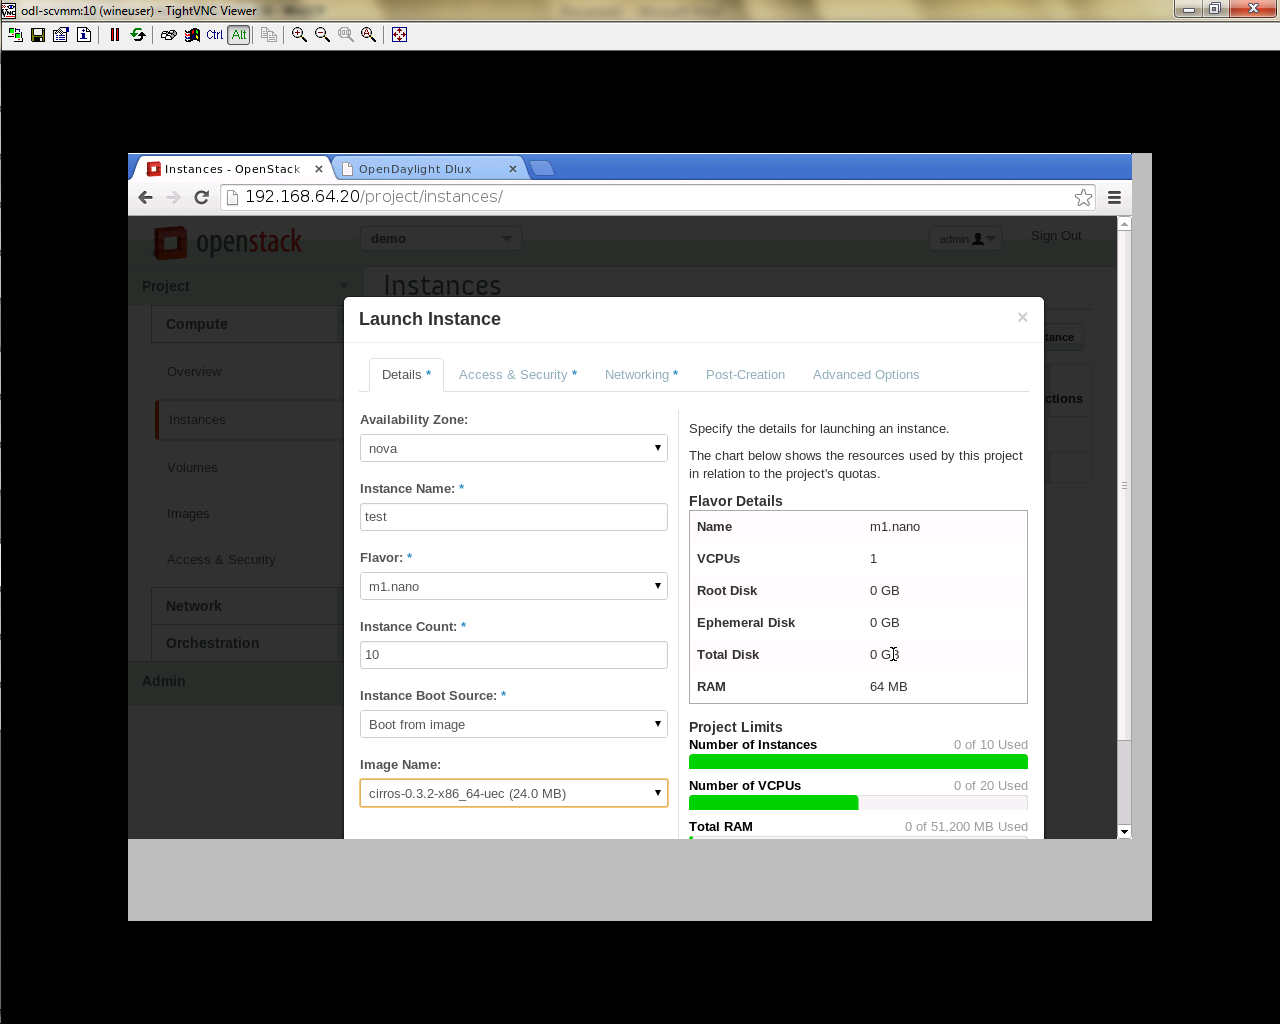
- Click on Details tab to enter the VM details.For this demo we are creating Ten VM’s(insances).
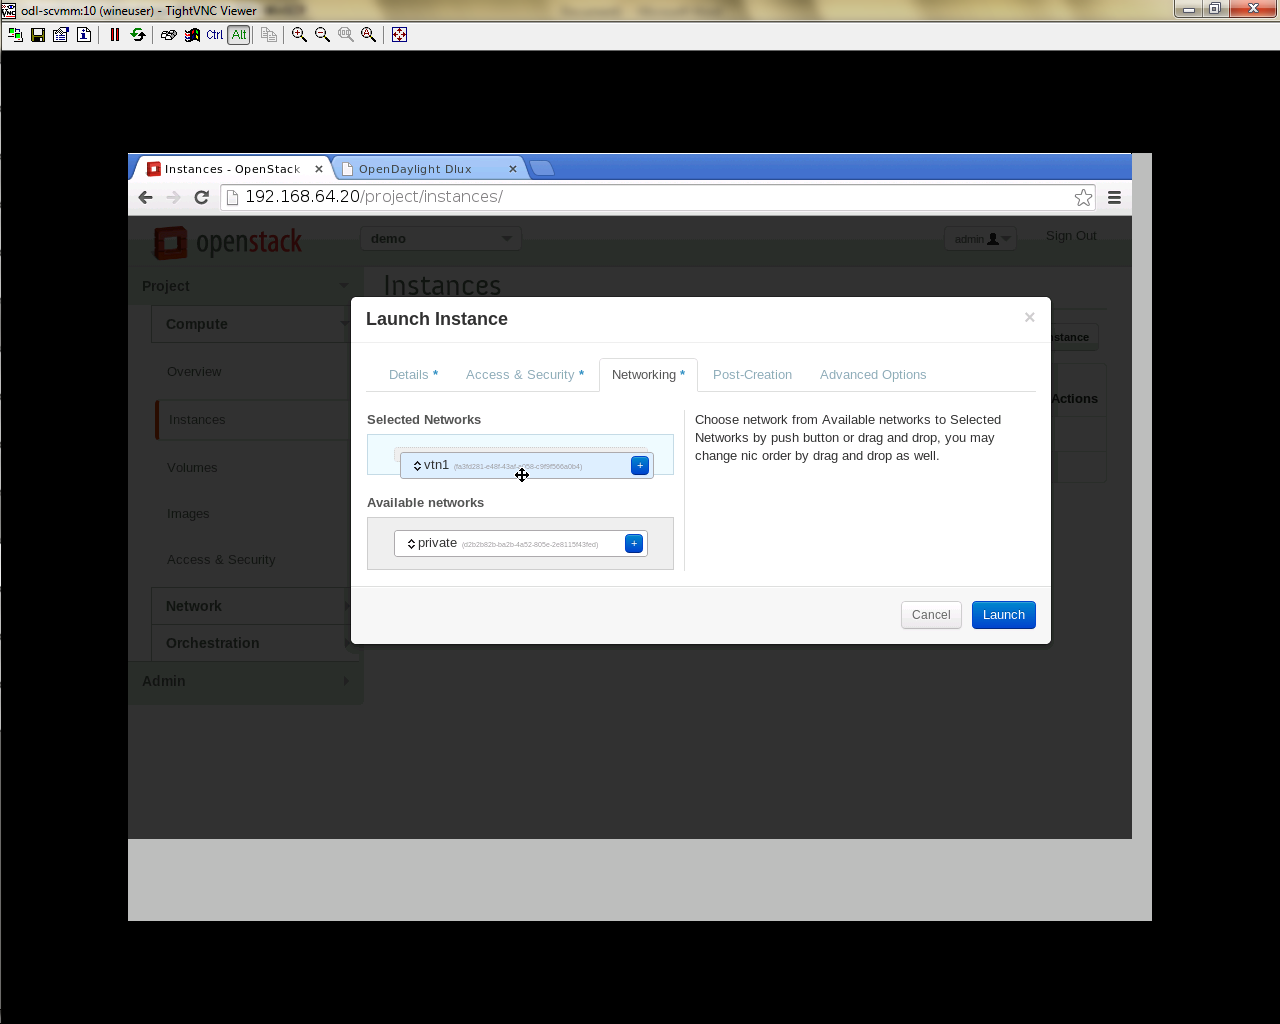
- In the Networking tab, we must select the network,for this we need to drag and drop the Available networks to Selected Networks (i.e) Drag vtn1 we created from Available networks to Selected Networks and click Launch to create the instances.
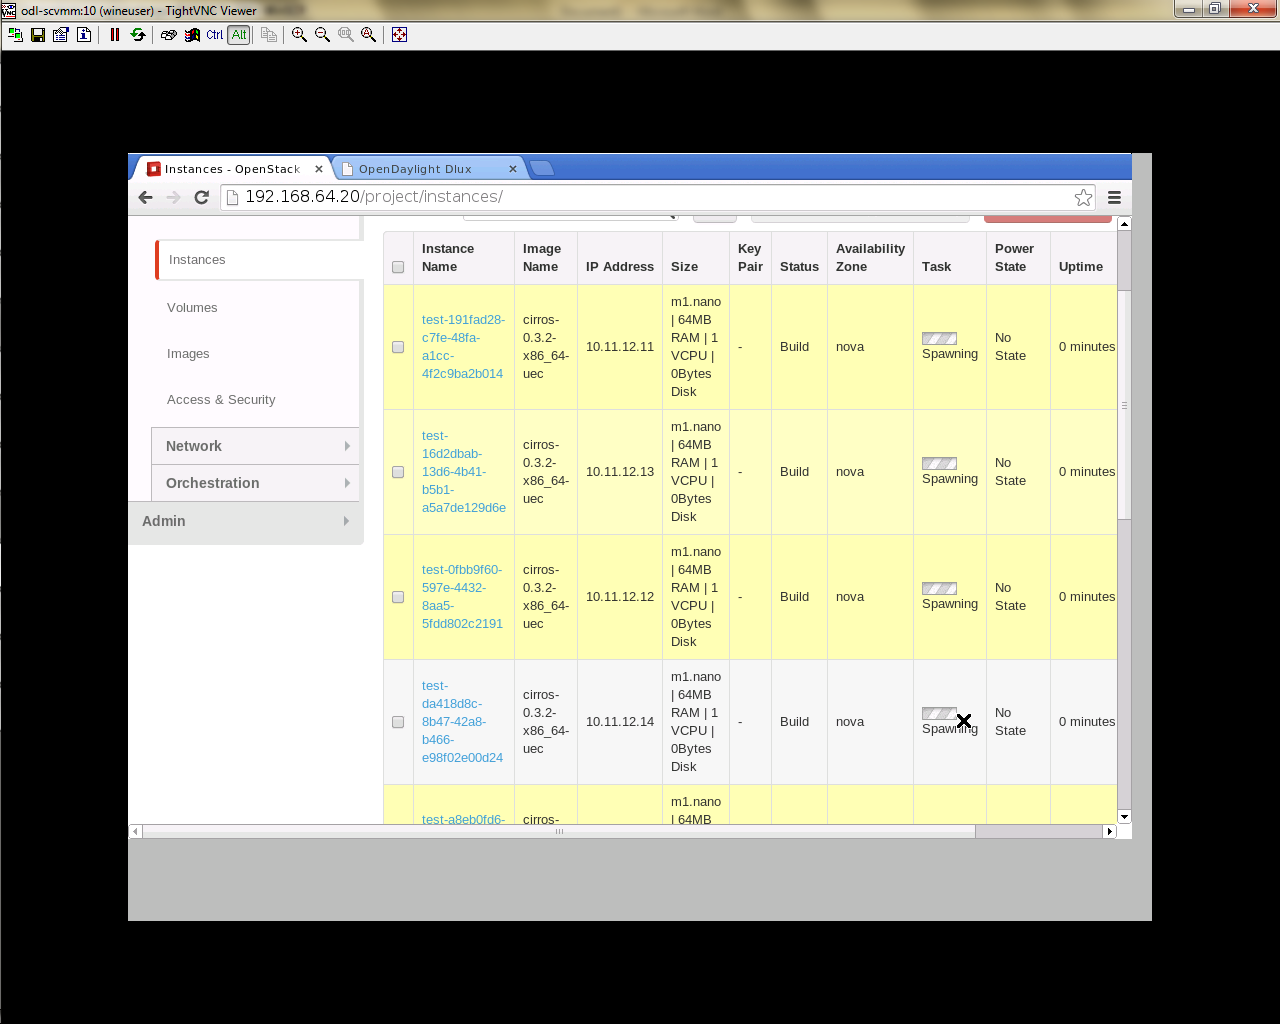
- Ten VM’s will be created.
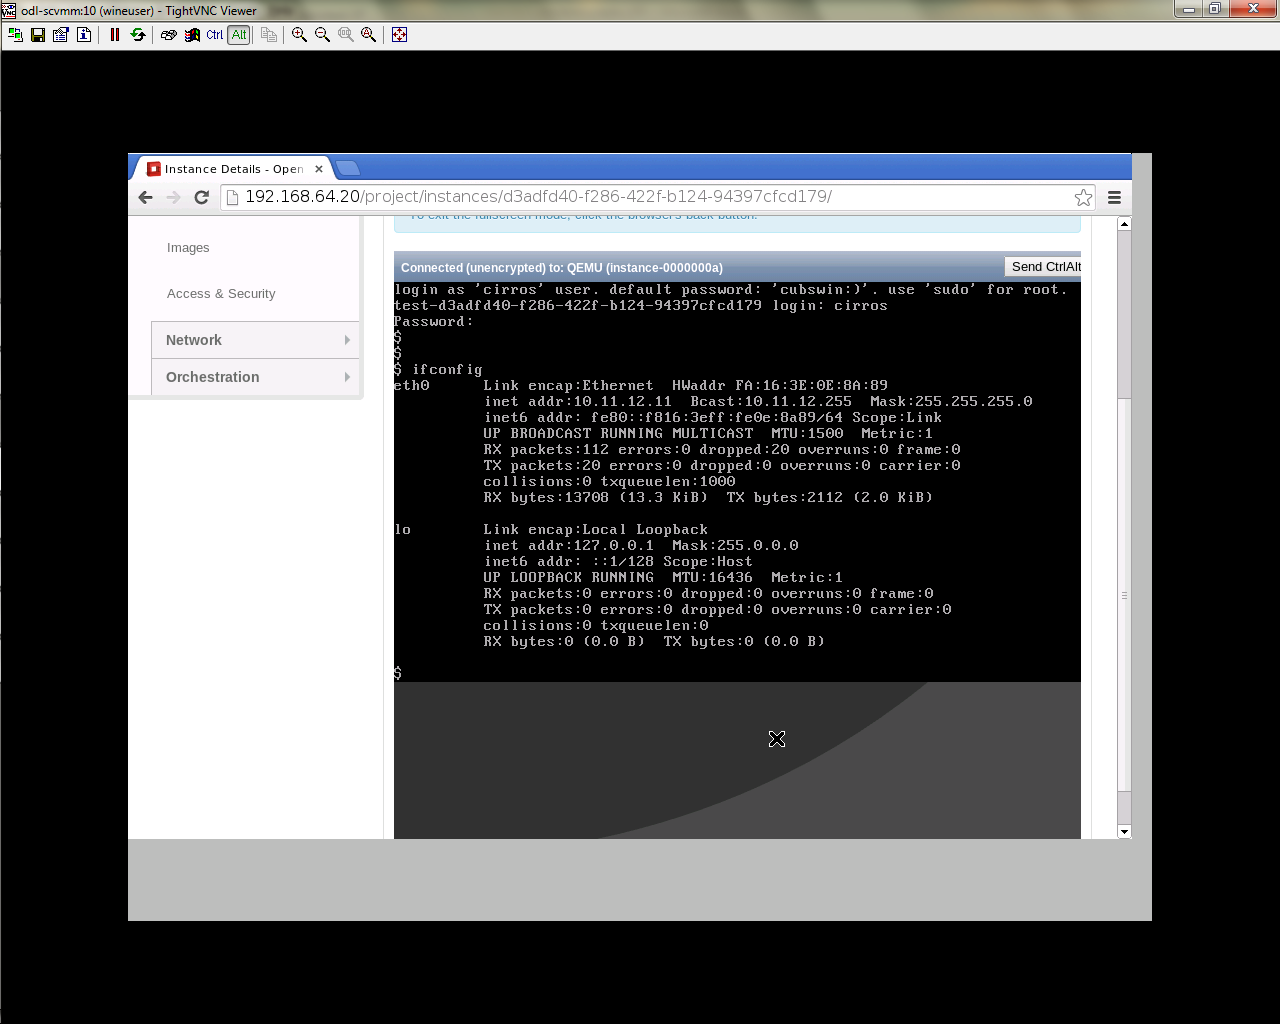
- Click on any VM displayed in the Instances tab and click the Console tab.
- Login to the VM console and verify with a ping commad.